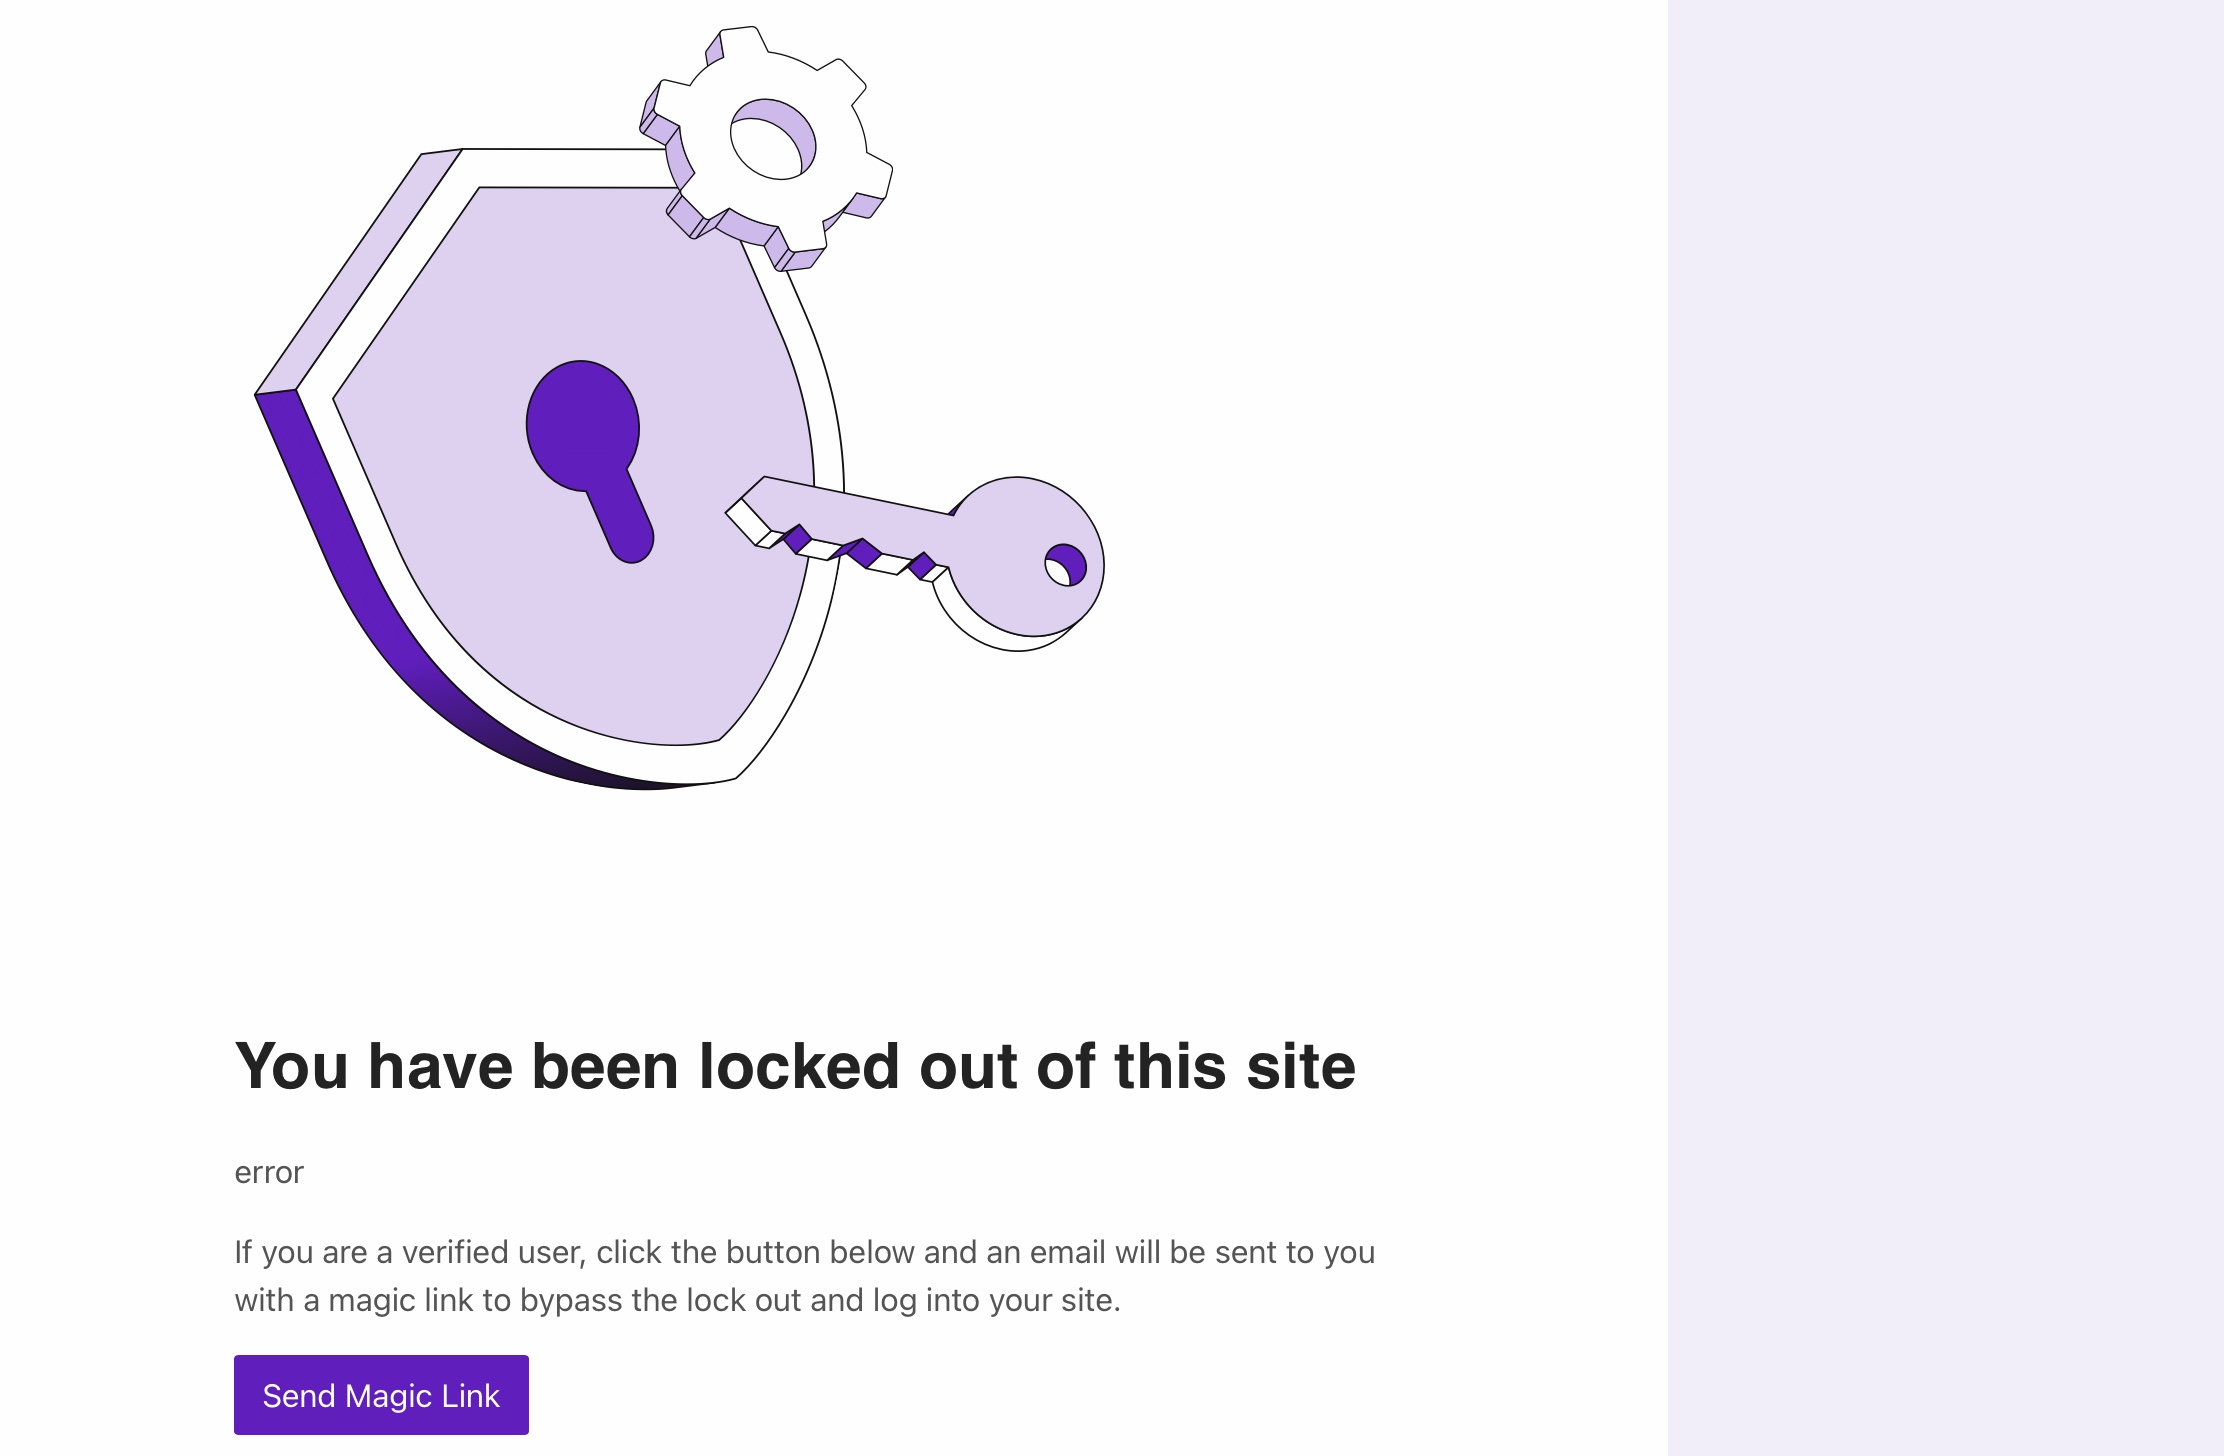
Most of you who are using the Solid Security (PRO) plugin to secure one or more sites have probably seen the lockout page once or twice. It is part of the Local/Network Brute Force Protection modules. Once enabled, if someone performs a (configurable) number of invalid login attempts the IP will be locked out and the lockout page (as can be seen in the image below) will be displayed.
The solution provided in this post was last tested using the Solid Security Pro 8.4.0 plugin in WordPress 6.5.2
The lockout page has the typical SolidWP styling which in most cases will not go well with the styling of your site. Unfortunately the plugin does not include functionality which allows you to choose an alternate style for the lockout page. So is it possible to customize the style of the lockout page ? And if so how can this be done ? And can it be done without making any changes to the plugin ?
Well to answer the first question, yes it is possible to customize the style of the lockout page. And yes, it can be done without making any changes to the plugin code. All it takes is hooking up to a single plugin filter: itsec_lockout_action_links. Allthough this filter wasn’t designed for this specific purpose, it can certainly be abused for our goal. It basically provides a way to get a foot in the door. On top of that this (plugin) filter will only get applied when a lockout occurs. This ensures our custom code only gets executed on a lockout.
add_filter( 'itsec_lockout_action_links', 'callback', 10, 2 );

function callback( $actions, $context ) {
	//This is where the magic happens
	...

	return $actions;
}
As you can see in the callback, the filter is strictly a vehicle to get our custom code executed. The $actions variable value (array) is passed unchanged/unfiltered.
Now before continuing we really need to have a look at the plugin lockout code. That is, the relevant piece of lockout code where we want to intervene. We only need to focus on the last 13 lines of the execute_lock() function in the /core/lockout.php plugin file:
	...

	add_filter( 'wp_robots', 'wp_robots_sensitive_page' );

	$actions = apply_filters( 'itsec_lockout_action_links', array(), $context );

	ob_start();
	call_user_func( function () use ( $context, $message, $actions ) {
		require( dirname( __FILE__ ) . '/templates/lockout/lockout.php' );
	} );

	add_filter( 'wp_die_handler', function () {
		return '_scalar_wp_die_handler';
	} );
	wp_die( ob_get_clean() );
}
To make it easier for the reader to understand (and for me to explain) I would like to present an easier version below:
	...

	//1. Tells web robots not to index or archive the page content.
	add_filter( 'wp_robots', 'wp_robots_sensitive_page' );

	//2. Our “foot in the door” filter gets executed.
	$actions = apply_filters( 'itsec_lockout_action_links', array(), $context );

	//3. Start - output buffering
	ob_start();
	call_user_func( function () use ( $context, $message, $actions ) {
		require( dirname( __FILE__ ) . '/templates/lockout/lockout.php' );
	} );
	$msg = ob_get_clean();
	//3. End - output buffering

	//4. Set up an alternate wp_die() handler and execute wp_die() while
	//passing the html code for the lockout page with an argument.
	add_filter( 'wp_die_handler', function () {
		return '_scalar_wp_die_handler';
	} );
	wp_die( $msg );
}
I’ve added some comments in green, made 2 code changes in red (these help divide the code in 4 sections) and marked 3 important variables in blue.
In section 1 of the code, by hooking into the wp_robots filter SolidWP makes sure web robots do not index or archive the lockout page content.
In section 2 of the code the itsec_lockout_action_links filter is being applied and the result is stored into the $actions variable. As said before, this is the filter we will hook into to let our custom code get executed. The $actions variable value is of type array (by default an empty array). Only if you run the SolSec Pro plugin and you have the Magic Links module enabled, the $actions variable will not be an empty array. Remember, our custom code will not make any change to the $actions variable. Last thing worth mentioning is that when applying this filter the $context variable is passed as an argument. Later on we will see why this is a very important fact.
In section 3 of the code the actual HTML markup code of the lockout page is first directed to the output buffer, and then collected and stored into the $msg variable. I have to say this is done in a very creative way. But what is important is that the method makes use of a template file and it makes our 3 important variables available in the context of the template. Most of the lockout page is static, but some content is dynamic. The 3 variables basically drive the dynamic part of the lockout page.
Finally section 4 of the code, where everything comes together and the lockout page will be rendered on screen. The WordPress core wp_die_handler filter is used in the wp_die() function to determin which handler (function) needs to be executed. By default it would execute the _default_wp_die_handler() function. In this case however the default wp_die() handler is changed into the much simpler _scalar_wp_die_handler() function. Note that the wp_die() $msg argument is also passed as an argument to the new wp_die() handler on its execution. So wp_die( $msg ) effectively becomes _scalar_wp_die_handler( $msg, $title, $args ).
Ok, hopefully you have been able to digest all of the above. The short version is that SolidWP generates a lockout HTML page and then passes that HTML markup as an argument to the WordPress Core wp_die() function. And according to the Code Reference wp_die():
Kills WordPress execution and displays HTML page with an error message.
Exactly what the lockout page needs. Ok, remember our initial hook to the itsec_lockout_action_links filter ? Below I’ve expanded on that:
add_filter( 'itsec_lockout_action_links', 'callback', 10, 2 );

function callback( $actions, $context ) {
	//This is where the magic happens
	add_filter( 'wp_die_handler', function( $function ) use ( $context ) {
		//This is where even more magic happens
		$function = function( $message, $title, $args ) use ( $context ) {
			//Parse $message and extract $lmsg and $actions
			$dom = new DOMDocument();
			$dom->loadHTML( $message );

			$p = $dom->getElementsByTagName( 'p' )->item( 0 );
			$lmsg = $p->textContent;

			$as = $dom->getElementsByTagName( 'a' );
			foreach( $as as $a ) {
				$actions[] = array(
					'uri' => $a->getAttribute( 'href' ),
					'label' => trim( $a->nodeValue ),
				);
			}

			unset( $dom, $p, $as );

			//Replace lockout html output in $message using $context, $lmsg (string) and $actions (array)
			ob_start();
			?>
			//Use the plugin core/templates/lockout/lockout.php file as an html markup example.
			//Replace the … below with your lockout page html markup.

			...

			<?php

			$message = ob_get_clean();

			call_user_func( '_scalar_wp_die_handler', $message, $title, $args );
		};

		return $function;
	}, 11 );

	return $actions;
}
Just like SolidWP can change the default wp_die() handler, so can we ! SolidWP used an anonymous function (closure) to hook into the wp_die_filter, so do we (though with an extra twist) ! SolidWP hooked at (default) priority 10 … we’ll hook at priority 11. Effectively overruling their handler. Oh and SolidWP hooked sloppy, we’ll do it by the book 😉
But why are we hooking up an anonymous function (closure) ? Because the anonymous function allows us to pass data/variables from a different context/scope (like $context). Ah allright, hey but wait a minute don’t we need to pass 3 variables ? We can’t, only $context is available in the scope of our filter. To get the values for the other 2 variables ($message and $actions) we’ll need to parse SolidWP lockout HTML code which is passed into our function as the $message argument. For this purpose we’ll use the PHP DOMDocument class.
…
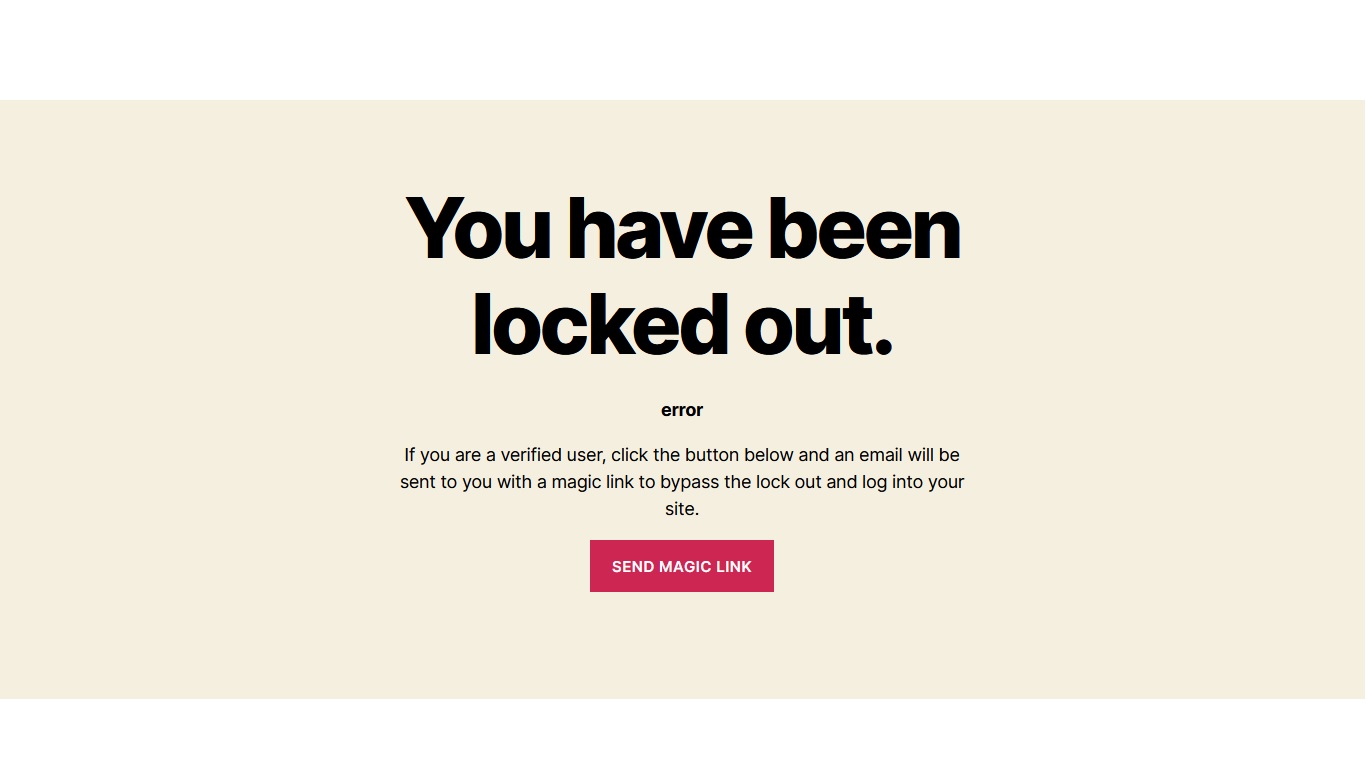
This site will show a customized lockout page when a visitor IP gets locked out by the Solid Security PRO plugin Brute Force Protection feature.
The styling of the lockout page matches the active theme style (Twenty Twenty).
Simply generate 3 (lowered from default 5) invalid login attempts with user jetxpert and the customized lockout page will be shown as can be seen in the image below.
For a test drive scroll down to the bottom of this page. Clicking on the Log in link will take you to the login page.